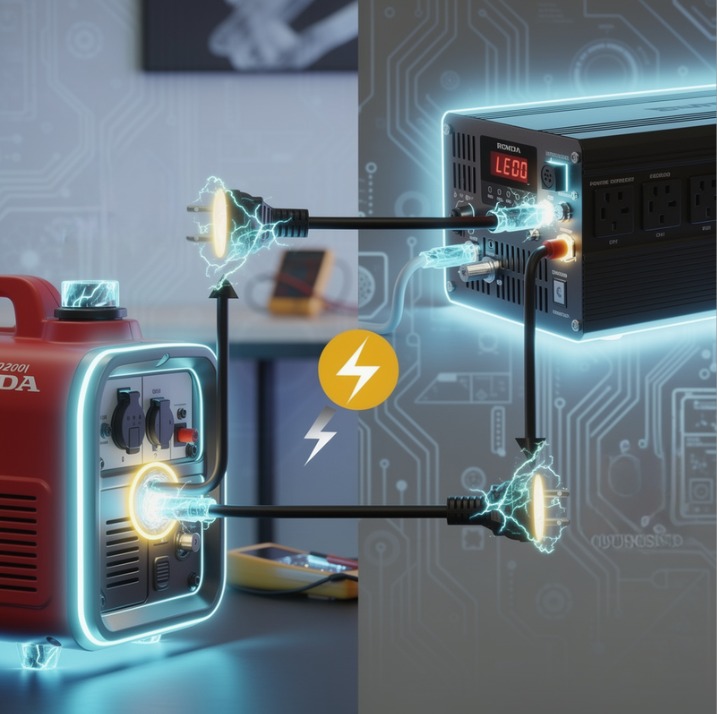
How to Connect a Generator to an Inverter: A Complete Step-by-Step Guide
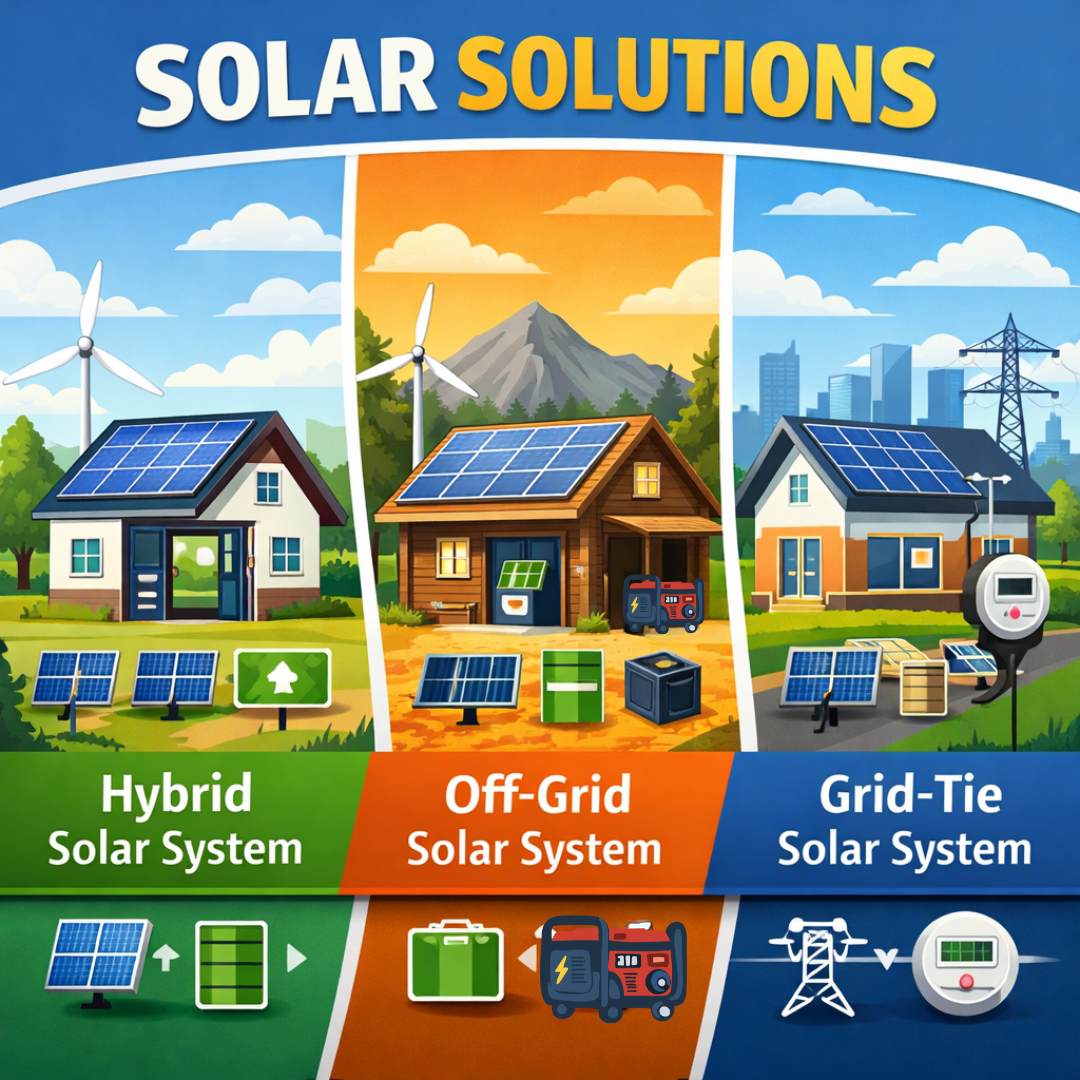
Whether you are living off-grid or preparing your home for any power outages, relying solely on solar panels and batteries isn't always enough. When the sun doesn't shine, a backup generator is your best friend. But how do you bridge the gap between a diesel/petrol-powered generator and your battery bank?
Connecting a generator to an inverter (specifically an inverter-charger or hybrid inverter) allows you to power your home while simultaneously recharging your batteries.
In this guide, we will walk you through the most common steps to connect a generator to an inverter safely, ensuring seamless power for your home.
⚠️ SAFETY DISCLAIMER: Working with AC electricity and battery banks carries a risk of fatal shock or fire. If you are not experienced with electrical wiring, hire a licensed electrician. Always comply with local electrical codes as well as always study your user manual thoroughly, we are not certified installers, we are purely advising on our personal experience with brands we have had experience with.
What You Need Before You Start
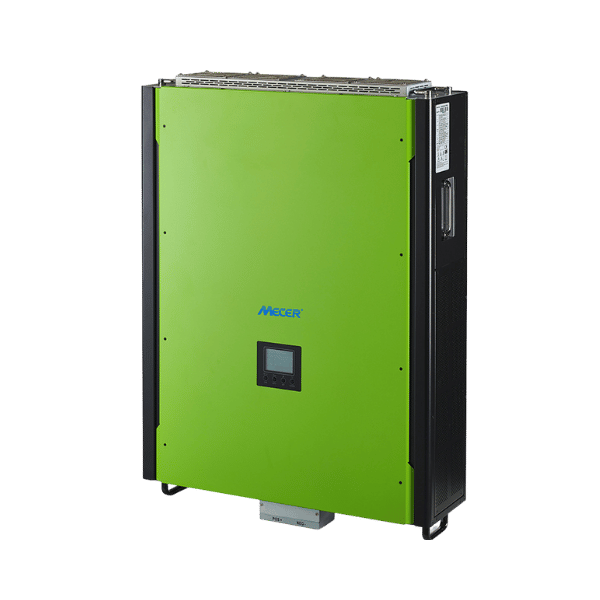
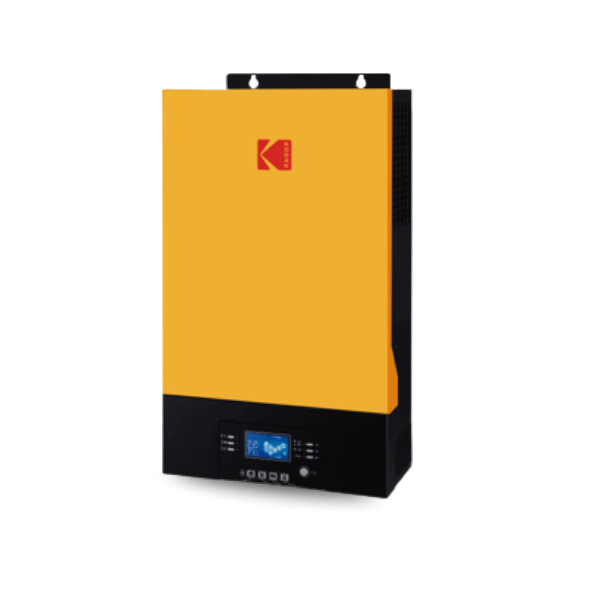
Before stripping any wires, ensure you have the correct equipment. You cannot connect a generator to a standard DC-to-AC inverter. You must have an Inverter-Charger or a Hybrid Solar Inverter that features a dedicated AC Input terminal.
Tools and Materials Required:
- Properly sized heavy-duty copper wire
- Wire strippers and crimpers
- Multimeter for testing voltage
- Screwdrivers and Allen keys
- Generator power cord or dedicated hardwired conduit
Connecting Your Generator to Your Inverter
Step 1: Size Your Generator Correctly
Your generator must produce "clean" AC power (ideally an inverter generator with less than 5% Total Harmonic Distortion/THD) so the pure sinewave hybrid inverter will accept it. Furthermore, the generator must be large enough to handle the inverter's maximum charge rate plus any loads running in the house. More or less double the inverters total capacity.
Step 2: Power Down the Entire System
Safety first. Before opening the casing of your inverter:
- Turn off the generator.
- Turn off the AC breaker between the inverter and the home's electrical panel.
- Disconnect the solar PV array via the DC disconnect.
- Turn off the battery bank disconnect switch.
- Use your multimeter to verify there is absolutely no voltage present at the inverter terminals.
Step 3: Wire the AC Input
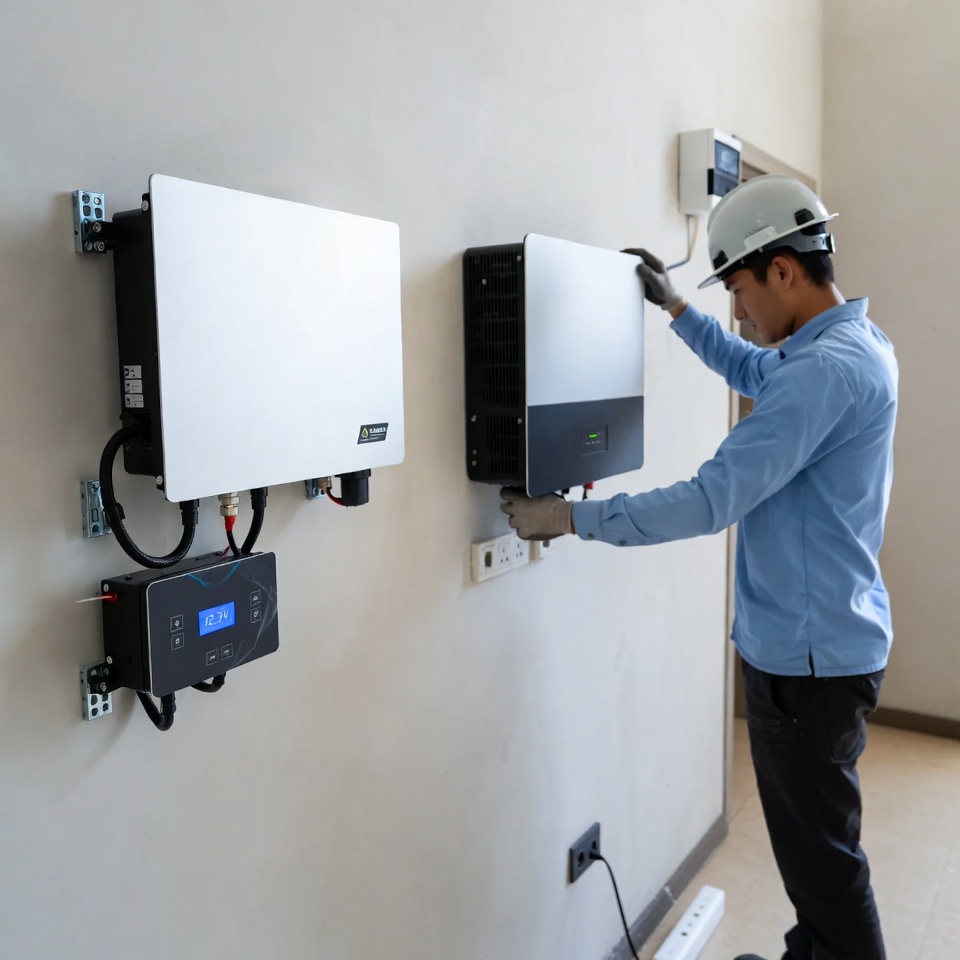
Open the AC wiring compartment on your inverter-charger. You will see a terminal block labeled AC IN or GEN IN.
- Route your wire from the generator receptacle (or manual transfer switch) into the inverter through a secure cable gland.
- For 240V Split-Phase Systems: Connect Line 1 (Brown) to "L1", , Neutral (Blue) to "N", and Green/Yellow to "Earth".
- Tighten all terminals to the manufacturer's specified torque. Loose connections cause electrical fires.
Step 4: Adjusting the Hertz (RPM)
If your generator is showing the wrong Hertz (Hz) on its digital display, you typically need to adjust the mechanical governor, not an electronic setting.
- Verification Before Adjusting
Warm up the engine: Let the generator run for 3–5 minutes before checking the frequency.
Check under load: Frequency often drops when a heavy load is applied. Check the Hz both at "No Load" and with a typical "Running Load."
Target: Ideally, set it to 51.5Hz – 52Hz at no load. This ensures that when you plug in your equipment, it settles near a stable 50Hz.
- How to Adjust the Hertz (RPM)
The governor assembly is usually located on top of the engine, near the carburetor, linked by a thin rod and a small spring.
Locate the Adjustment Screw: Look for a screw with a spring wrapped around it that limits how far the throttle arm can move. This is not the idle screw on the carburetor itself.
- Adjusting the Speed:
To Increase Hz: Turn the screw clockwise (tighten). This increases spring tension, pulling the throttle open further and increasing RPM.
To Decrease Hz: Turn the screw counter-clockwise (loosen). This reduces tension and slows the engine down.
Monitor the Display: Make small adjustments (1/4 turn at a time) while watching the digital Hz meter on the control panel.
- Safety & Maintenance Notes
Do not exceed 53Hz at no load: High RPM can damage the alternator or the connected sensitive electronics.
Surging/Hunting: If the Hertz is jumping up and down constantly (e.g., 48 to 52 back and forth), the governor arm might be sticking, or the fuel system (carburetor) may need cleaning.
Step 5: Power Up and Program the Inverter
Once wired securely, close the inverter casing.
- Turn on the battery bank, followed by the inverter.
- Start your generator and let it warm up for 2–3 minutes to stabilize the voltage.
- Flip the breaker to allow the generator power into the inverter.
- Crucial Step: Go into your inverter’s settings menu. Program the Maximum AC Input Current. Set this to roughly 80% of your generator’s rated continuous output so the inverter doesn't overload and stall the generator.
Connecting a backup generator to your inverter-charger is a fantastic way to ensure energy resilience year-round. By following the correct wiring protocol, managing your ground bonds properly, and configuring your inverter settings, you'll create an off-grid or backup power system that runs flawlessly.
Safety is always a priority. This content is intended as a general guide only. Please consult a certified professional where necessary.